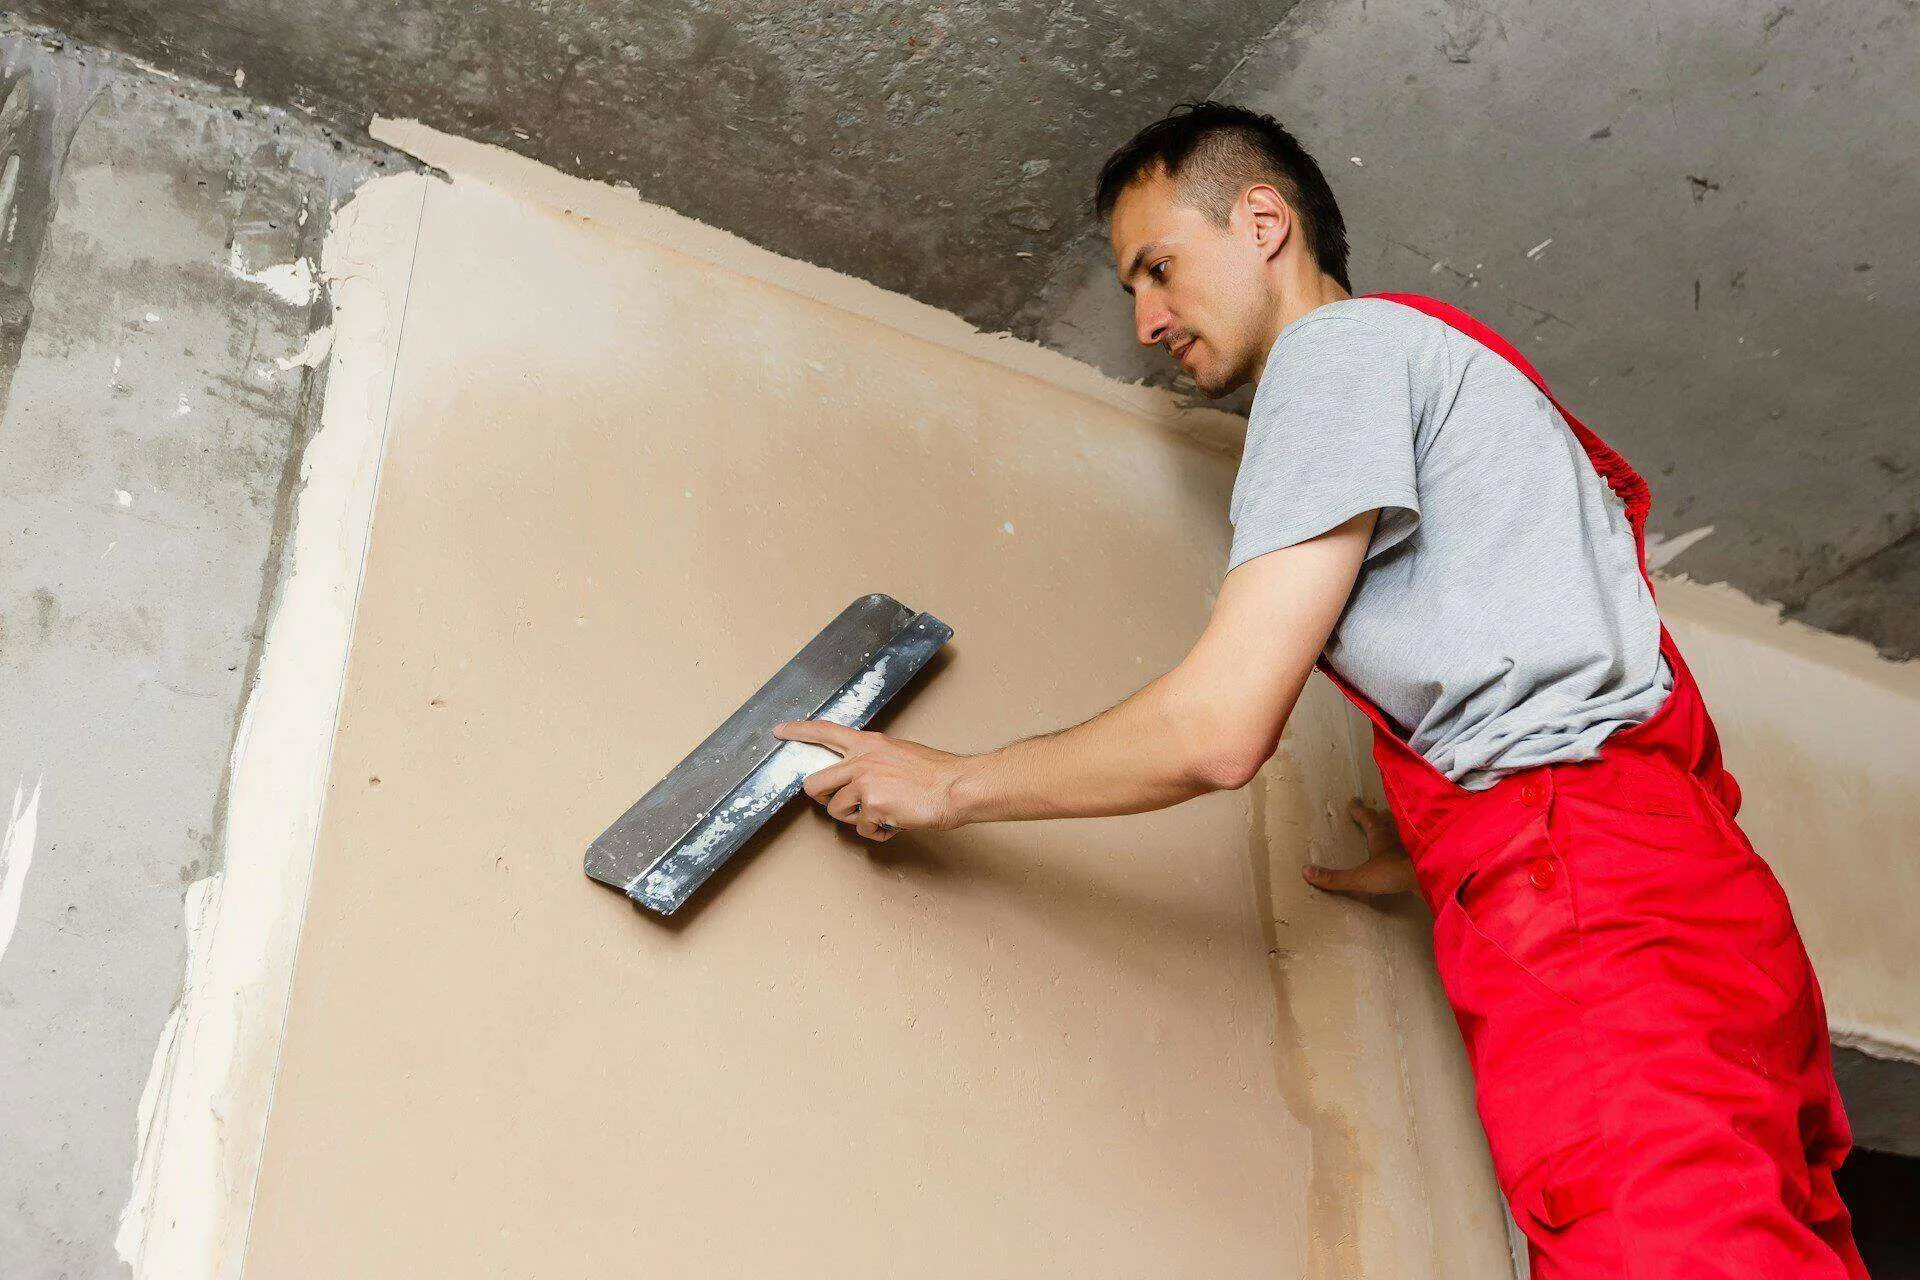
A wall repair that drags on for weeks is a real problem when kids need their bedroom back and the hallway is the only route to the kitchen. Furniture gets stacked, plastic sheeting goes up, and everybody wants to know one thing: how long until this room is usable and painted again?
With interior residential plastering, the honest answer depends heavily on which system goes on the wall. Conventional three-coat gypsum plaster and veneer plaster are both real plaster — mixed wet on site and troweled by hand — but their timelines are very different, especially the wait before paint can go on. Dry August weather in the Northern San Francisco Bay Area generally makes for friendlier drying conditions than a damp January, which is worth factoring in if the family calendar is tight.
Here’s how the two systems compare head-to-head: what each one is, how the coats sequence, what the documented drying windows look like, and which one makes sense for a household that can’t afford a room out of commission for long. One note before starting: everything below applies to interior gypsum plaster only. Exterior stucco is a Portland-cement system with its own coat and cure requirements, and gypsum plaster shouldn’t be used where it contacts water or excessive moisture, or outdoors at all.
Conventional Plaster: The Three-Coat System and Its 30-Day Drying Window
Conventional gypsum plaster is the traditional approach, and it’s what you’ll find behind the walls of a lot of older Bay Area homes. It’s a three-coat process: two basecoat applications followed by a finish coat. Each coat has a job to do:
- The scratch coat keys into the lath or masonry base and establishes the bond
- The brown coat builds mass and straightens the wall
- The finish coat goes on over a partially dry basecoat and creates the final surface
The build-up gives you a thick, solid wall, and it’s often the right match when you’re repairing original plaster and want the new work to sit flush with the old. The trade-off is time. Manufacturer guidance recommends allowing conventional plaster systems to dry a minimum of 30 days under ambient conditions before final decoration. That’s not the length of the job itself — the troweling happens over days, not weeks — but it means paint, wallpaper, or other finishes shouldn’t go on for roughly a month after the plaster is up.
For a busy family, the practical takeaway is this: the room may be physically back in service well before it’s decorated. You can often live with bare plaster while it dries. But if the plan hinges on a freshly painted room soon after the trowels leave, conventional plaster’s drying window needs to be built into the schedule from day one.
Veneer Plaster: Thin Coats and a Faster Path to Paint
Veneer plaster is the modern alternative, and it’s built for speed. The system consists of gypsum lath — a board with a special, highly absorptive paper surface — covered with one or two thinly troweled coats of special-purpose plaster. A one- or two-coat veneer system typically runs just 3/32 to 1/8 inch thick, yet it produces a monolithic, hard surface that feels like real plaster underhand, because it is.
Overall application of veneer plaster is faster and easier than conventional plaster, and the drying story is where the timeline difference really shows: as a general rule, under good drying conditions, veneer plaster may be painted 48 hours after application. Compare that to the 30-day minimum for conventional systems and it’s easy to see why veneer is worth a serious look for interior residential plastering when a household needs its rooms back quickly.
There are still sequencing details a professional has to respect. In a two-coat system, once the basecoat is firm, the surface is raked or roughened to give the finish coat something to grab — and the basecoat should be set and only partially dry, not bone dry, to provide proper suction. Rushing or over-drying that step is exactly the kind of shortcut that shows up later as delamination or a finish that never bonds right.
What Actually Drives the Schedule: Temperature, Airflow, and Drying Conditions
Neither system’s published timing means much if the room conditions are wrong. Manufacturer guidance for veneer plaster calls for a temperature of 55 to 80 degrees Fahrenheit for at least 24 hours before plastering, held for a week after the plaster has set and dried. USG’s veneer basecoat guidance adds that in cold weather the interior should be heated to at least 55 degrees before, during, and until the finish is dry, with air circulation kept to a minimum during application and until proper set is achieved.
That last point trips people up. Because veneer coats are so thin, they’re vulnerable to dryouts — plaster that loses its water too fast to set properly. That means:
- No space heaters aimed at fresh walls to “speed things up”
- No fans or open windows creating drafts across setting plaster
- No painting on a hunch — a simple check is to tape plastic to the wall; if moisture shows on the plastic after 24 hours, the plaster isn’t completely dry
This is where an August start in the Bay Area works in a family’s favor. Mild, dry conditions make it easier to hold the temperature range naturally and keep drying steady — no supplemental heat, fewer humidity swings. The same job in a cold, damp stretch takes more management, not less skill.
Wall Condition Changes Everything: Repairs and Old-House Prep
The other big timeline variable isn’t the plaster — it’s what’s already on the wall. A lot of Northern Bay Area homes still have original wood-lath plaster, and repairing it properly is a multi-step process: remove the old plaster down to the wood lath, staple metal lath over it, apply a sanded conventional basecoat over the metal, then trowel on the finish plaster. That’s more days of work than skimming a sound wall, and it’s why two “plaster repair” quotes for similar-sized rooms can carry very different schedules.
Even going the veneer route over existing surfaces, prep is non-negotiable. Old wall coverings and their adhesives have to come off, the surface gets washed, loose paint gets scraped, damaged areas get repaired, and cracks and holes get filled with setting-type compound and tape before any plaster goes on. Skipping that prep is how new finishes fail early. And when paint day finally arrives, primer choice matters too — paint manufacturers should be consulted on the right primer for lime-containing versus non-lime finish plasters.
Which System Fits Your Household?
If the priority is minimizing disruption — a kid’s bedroom, the only bathroom hallway, a home office that can’t sit idle — veneer plaster’s faster application and 48-hour path to paint under good drying conditions is hard to beat. If the project is matching thick original plaster in an older home, or the wall base calls for three-coat work over metal lath, conventional plaster is often the sounder choice, and the 30-day drying window before decoration simply becomes part of the plan rather than a surprise. Either way, the wins come from knowing the numbers up front: which system is going on, what conditions it needs, and when paint can realistically follow.
One Stop Plastering handles residential and commercial plaster and stucco work throughout the San Francisco Bay Area, and is licensed (California contractor license 973914), bonded, and insured. Explore the full range of residential plastering and stucco services, or reach out for an estimate to get a timeline based on your actual walls.