
Plastering has been a part of masonry work since ancient times. It is a step essential in nearly every construction project to cover up porous material, conceal any defective workmanship, and ensure that the finished surface is smooth, clean, and durable. However, knowing when it is dry and ready before painting is one of the biggest challenges and most frustrating things for beginners.
Plaster takes a long time to dry, and painting it right away can ruin the whole thing. So if you are planning to include plastering in your DIY construction project, you must know how long to wait before you paint over your material. This article will give you an idea of how to proceed.
How Long Do You Have to Wait
New plaster needs to fully dry before painting. Adding paint to damp plaster would result in trapped moisture, which can lead to problems down the line. How long it takes depends on many factors, such as the type of surface you are working on. Here are some essential things to take note of:
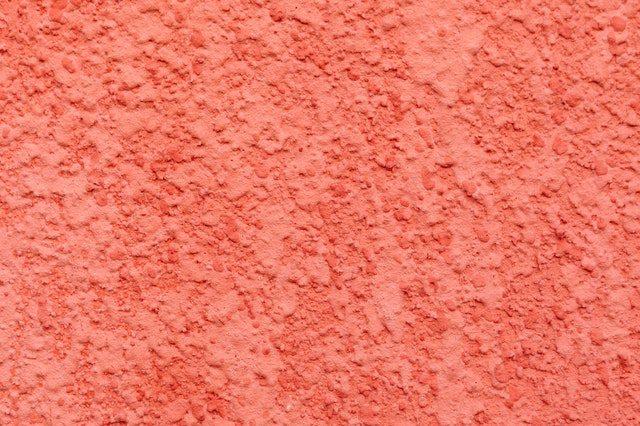
- The color of the plaster changes to indicate its level of readiness. It would usually start with dark pink color and change to light pink.
- The thickness of the plaster can also affect the waiting time.
- Other factors to note are the temperature and the amount of ventilation inside the building.
Using Plaster on Old Buildings
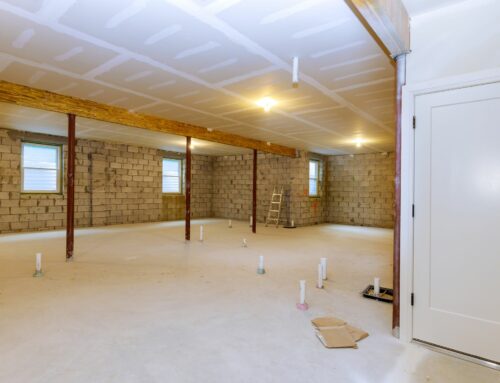
Plastering over old painted walls is perfectly fine as long as the wall is still in good condition and thoroughly cleaned. To make the output look better, make sure you remove the old plaster first. You also need to add two backing coats of sand and cement before proceeding to your final application. That can help you create a better finish on the surface.
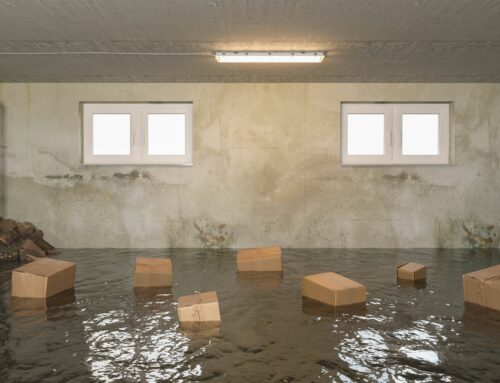
Doing this would also help you prevent the buildup of hygroscopic salts. This salt can result in staining and persistent moisture later on. However, take note that everything takes time, so expect it to need a longer curing time.
Should you use plaster to skim to finish new plasterboards, the drying time would be shorter.
Need to Speed Up the Drying Process? Try These!
- Increase ventilation in the area: You need to reduce the moisture present, so improving the room’s ventilation can help a lot. Do this by opening the windows and doors in your room or placing a dehumidifier inside.
- Increase temperature inside the room: Add additional heating inside the room, but do this step cautiously. Heat can speed up the process but too much can cause cracks.
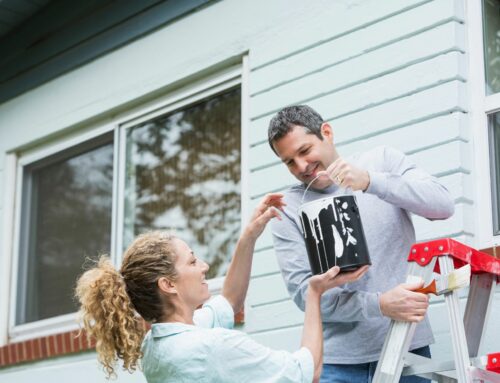
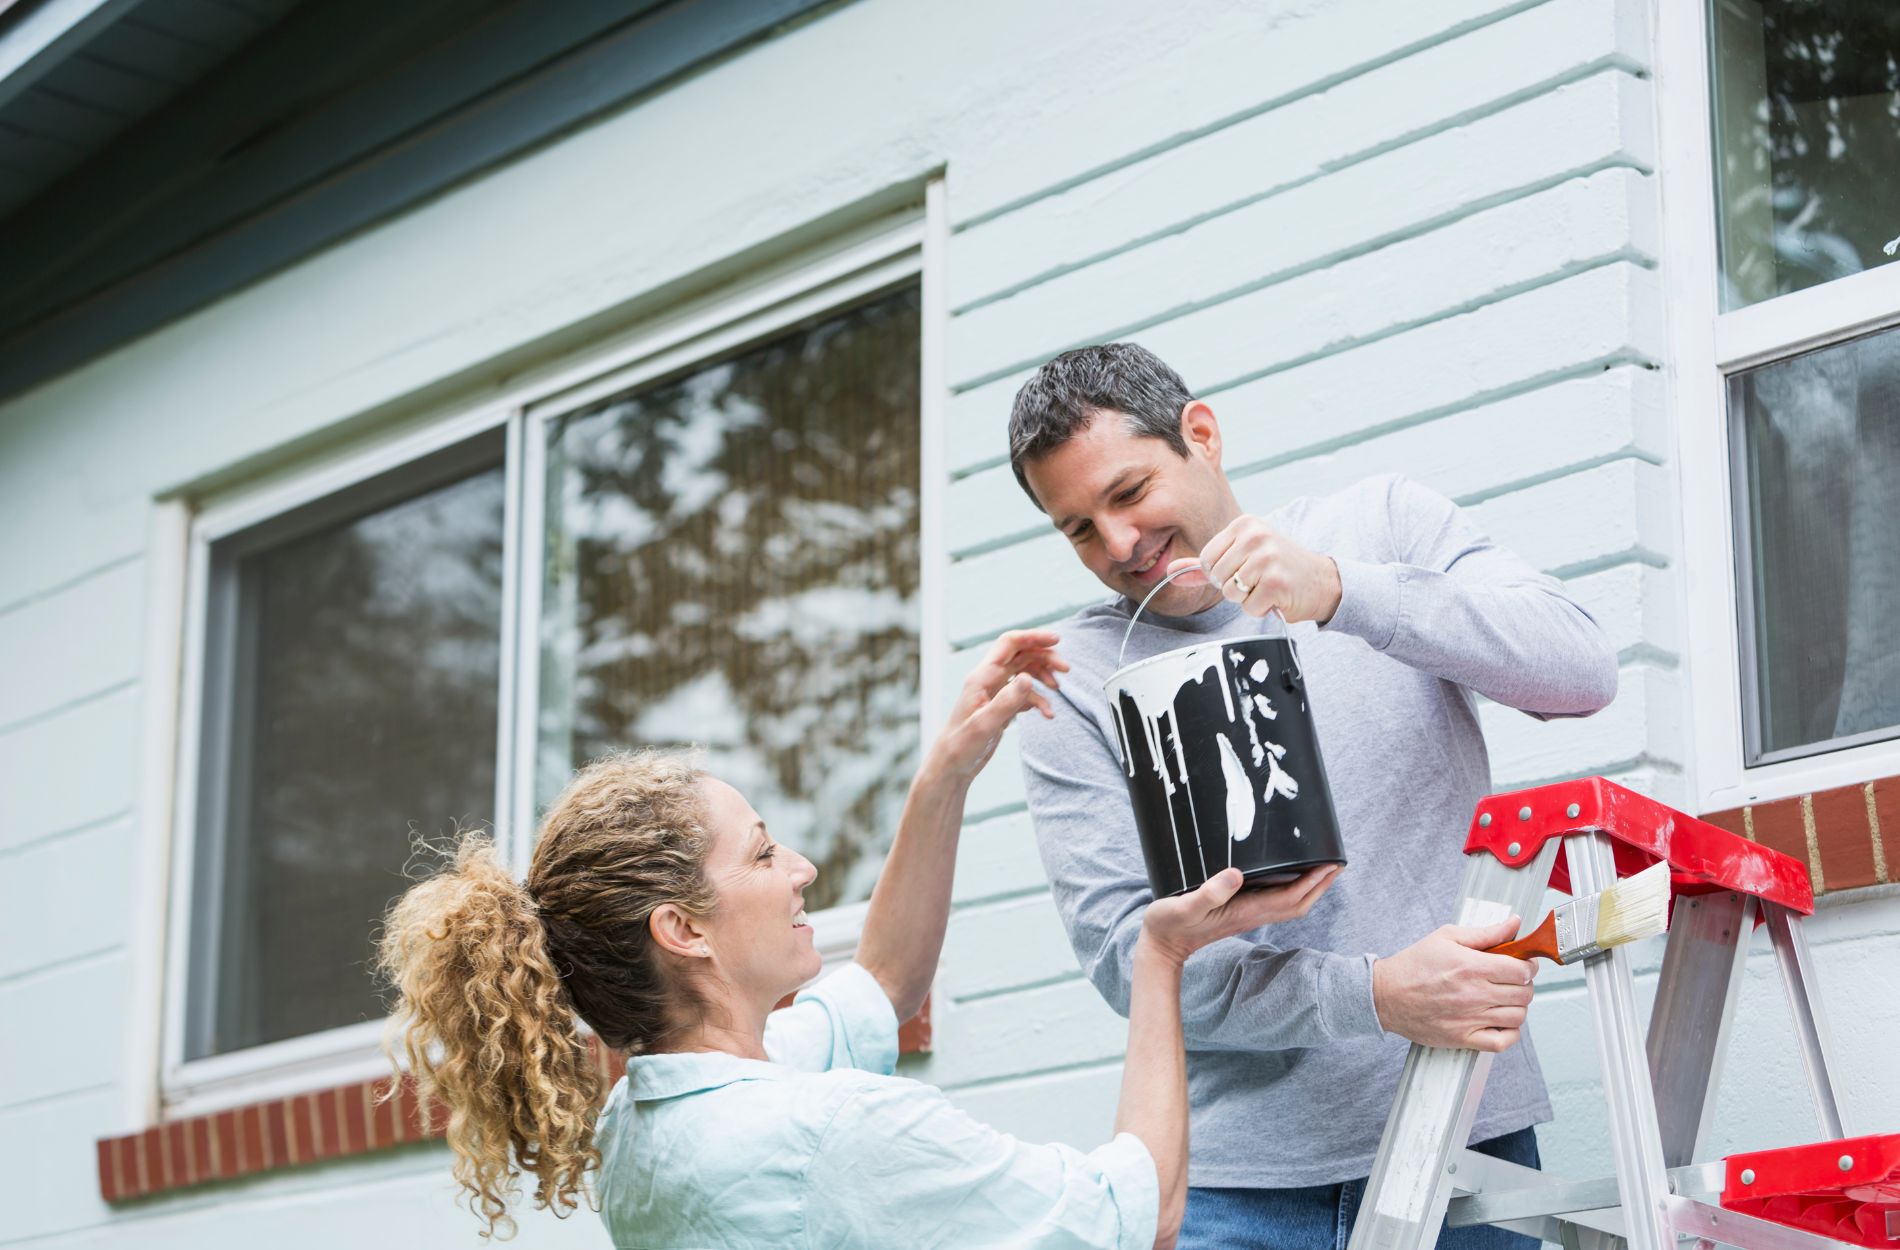
How to Start Painting the Plaster
- When the plaster is dry and ready, you should not paint it right away. This surface will accumulate a layer of dust in the drying process, so brush it off first before you coat it with paint.
- Ideally, you should paint it with a non-vinyl emulsion. Do not apply a pure 100 percent mixture. Thin it down by adding 35 percent water. This should be the primer or the first layer you must paint over. Apply it as heavily as possible, but make sure it is even. Then, let it fully dry.
- Once the plaster absorbs the primer or mist coat, you can now apply the final coat of your paint. Fill in any tricky corners and surfaces to get a smooth finish.
Conclusion
Plastering is the key to achieving a perfect, smooth finish for those tough and uneven surfaces. However, it requires patience and attention to detail to get the best result. If it is your first time trying it on your own, make sure you follow our guidelines and tips above.
If you believe you need help, it would be best to contact professionals to do the job right. One Stop Plastering is a company of licensed plaster and stucco experts with more than 25 years of experience. If you need interior or exterior plaster and stucco for your residence or commercial area, call us at 415-464-9400.
